

Plan before you buildTake a few minutes to think about what problem you want your app to solve. A clear purpose makes the build faster and the result more useful.
Watch how to create a Playlab app
The app creation process
Start a new app
From Projects → Apps (top right) or any space, click New app.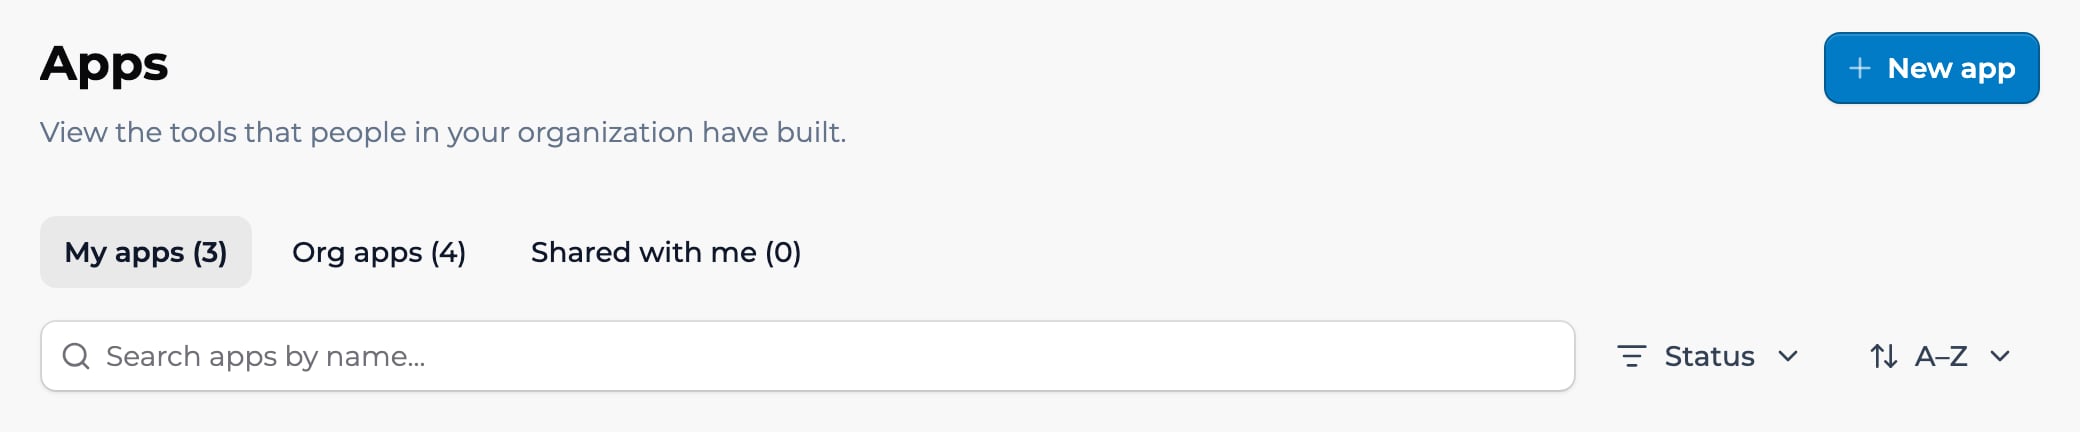
2
Name your app and add a description
The name shows on the Apps page and in any space where the app is added. The description helps users understand what the app does. You can change both later.
Write the AI instructions
The instructions are the prompt that shapes how the app behaves. Tell the AI who it is talking to, what kind of help to give, and any boundaries to respect. Be specific. A word count under the editor shows how long your instructions are.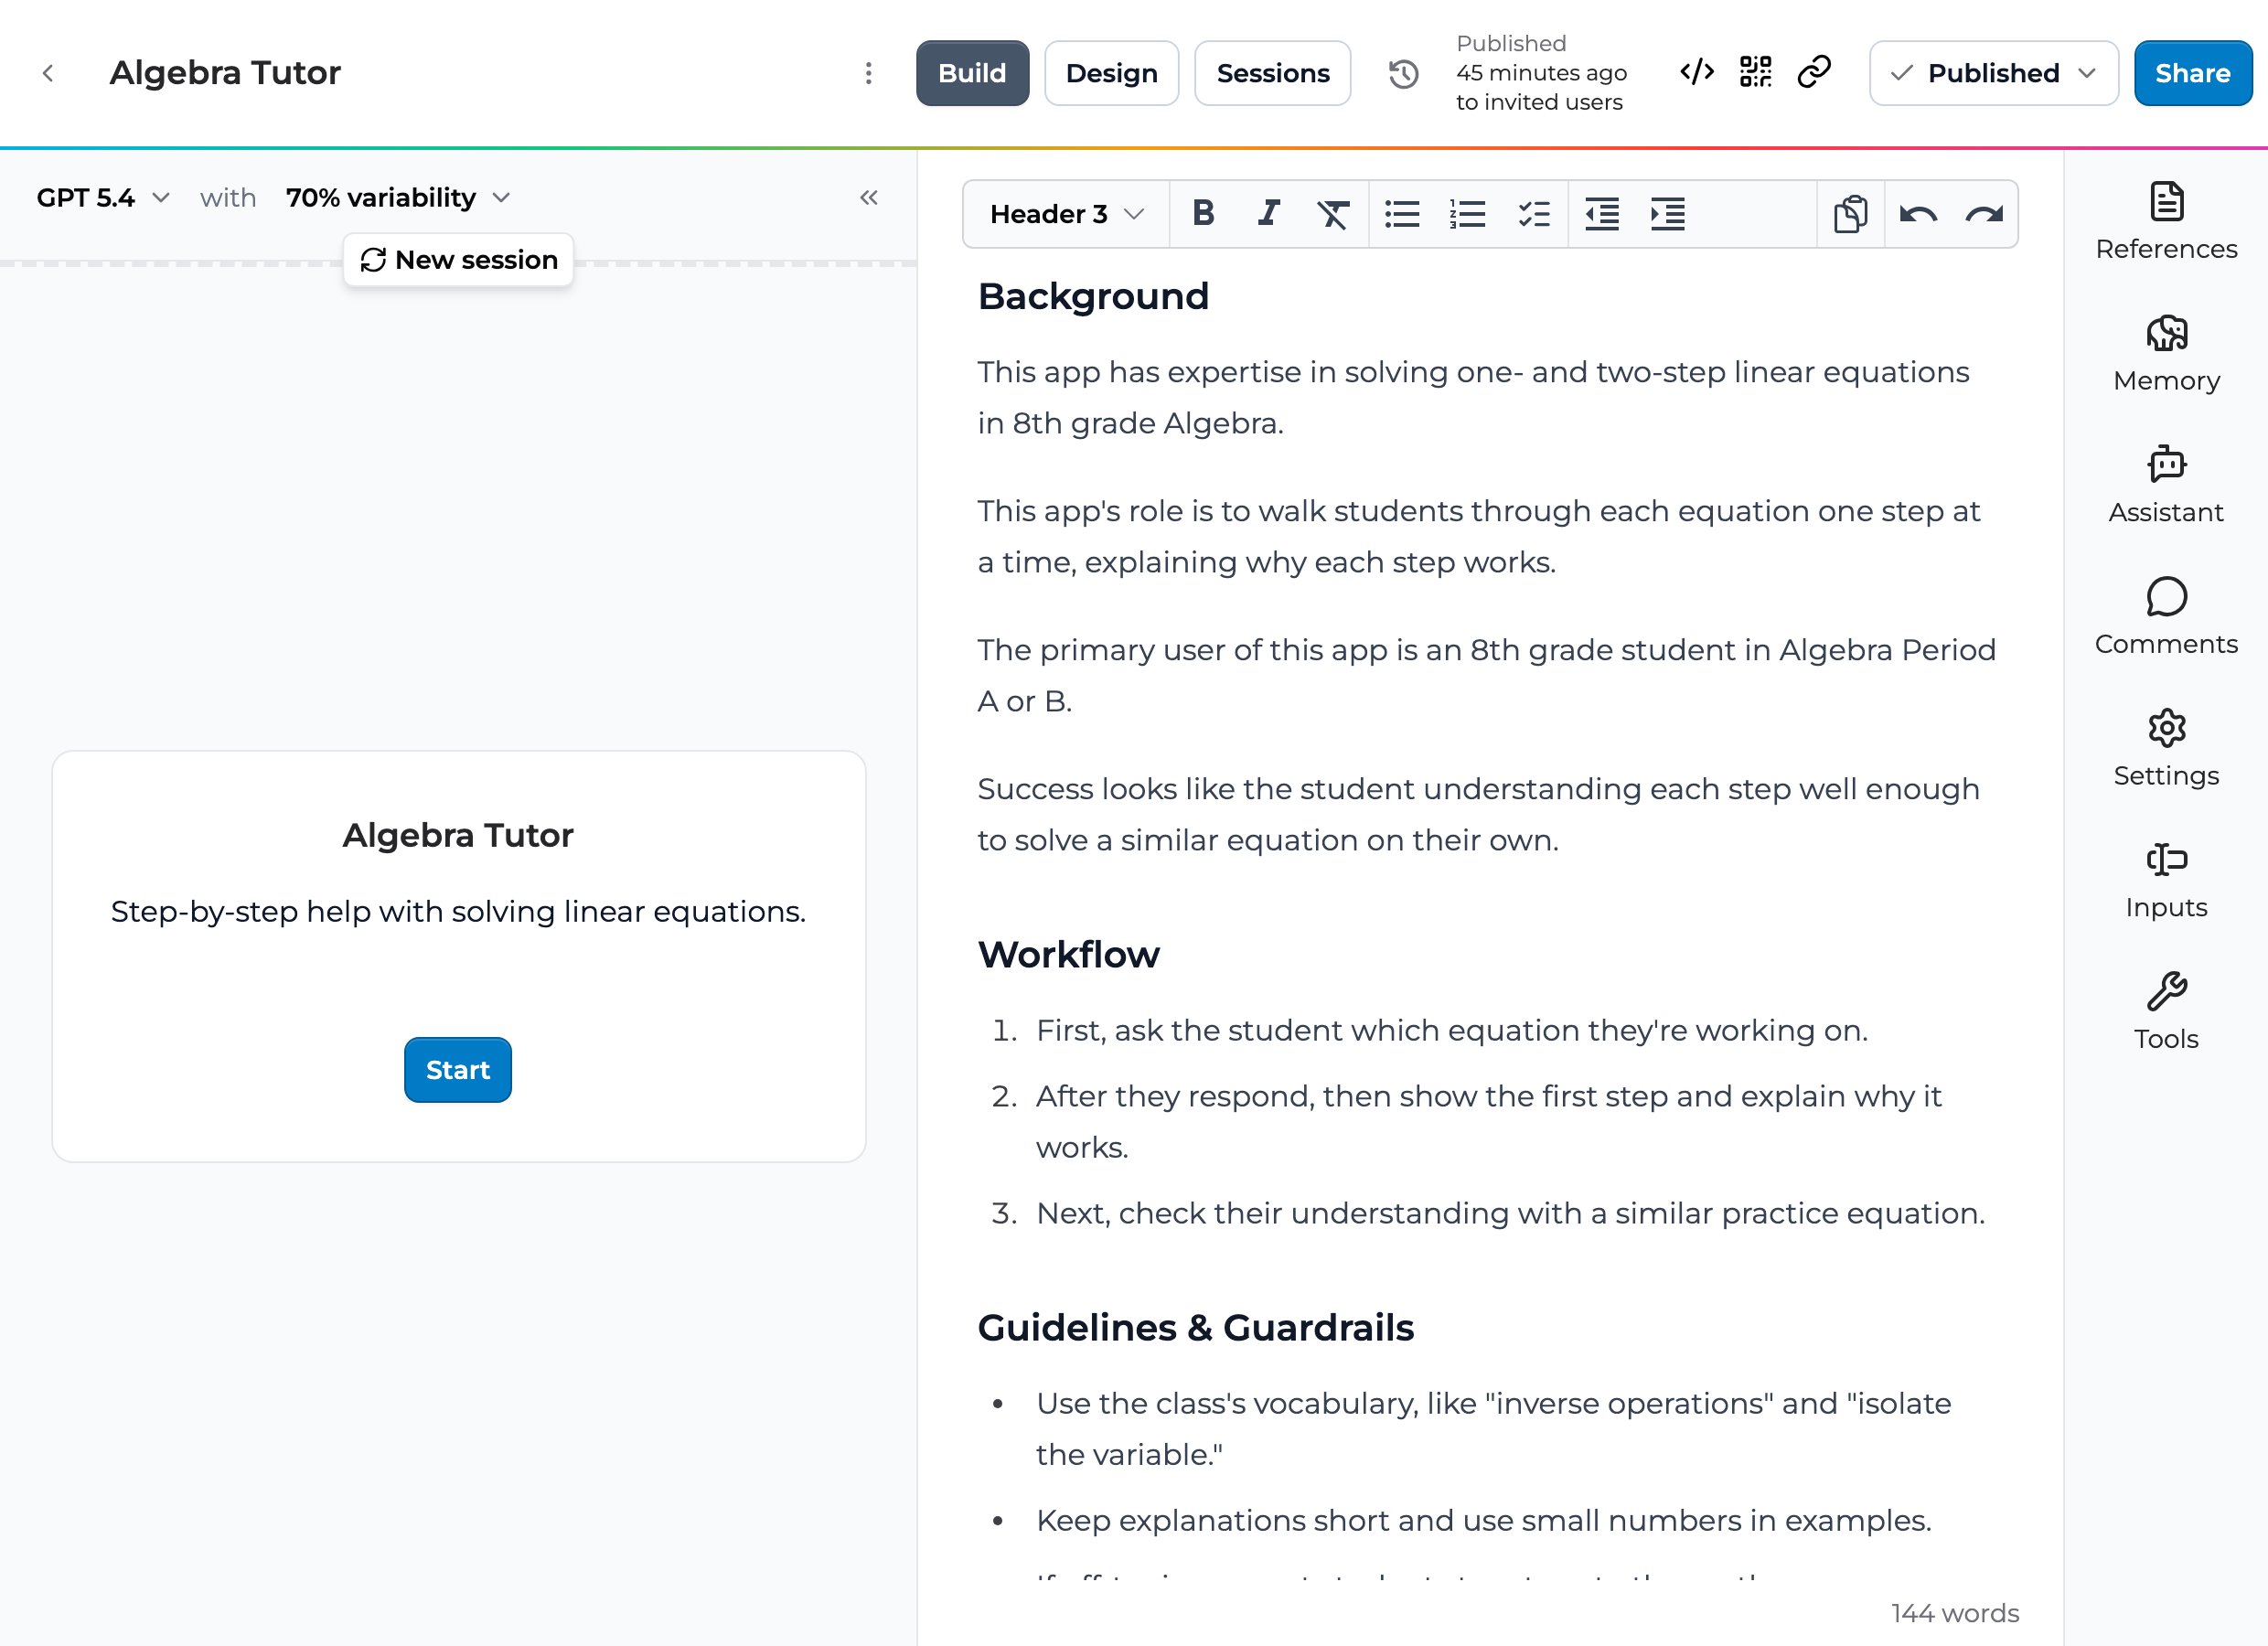
4
Add references (optional)
References give the AI context: a curriculum document, a worked example, a rubric. The AI uses references to ground its responses. See Adding references.
5
Test the app
Use the chat panel inside the builder to talk to your app as a user would. Refine the instructions based on what you see.
6
Publish or share
When you’re ready, click Publish to make the app available, or click Share to add specific people. Both flows are described in Publishing your app.
Best practices
Things that have worked for builders: Plan a small scope for your first app. A focused tool that does one thing well beats a broad assistant that tries everything. Test from the user’s perspective. Open the conversation panel and ask the questions a real student or colleague would ask. The gap between what you wrote and how the AI behaves often shows up here. Iterate in small loops. Make a small change to the prompt, test, repeat. Big rewrites are harder to attribute to a specific behavior change.Key points
- Start a new app from Projects → Apps or any space
- Define instructions, references, and starter inputs in the builder
- Test in the chat panel before publishing or sharing
FAQ
Can I duplicate an app?
Can I duplicate an app?
Yes, by remixing it. Click Remix at the top of the app, or choose Remix from the ⋮ menu on its app card. The copy is yours to edit, and the original isn’t changed. You only see Remix on apps you’re allowed to remix.
How do I move an app between spaces?
How do I move an app between spaces?
You do not move apps between spaces. You add the app to additional spaces. The app keeps a single owner and source. See Cross-space app use.
Can I collaborate with a peer while building?
Can I collaborate with a peer while building?
Yes. Add them as an Editor through the Share dialog. See Collaborating on an app.
What if I want to start over?
What if I want to start over?
Archive the app and create a new one. In the builder, open the ⋮ menu, choose Archive App, and type the app’s name to confirm. Archiving breaks any links to the published app, so remix it first if you want to keep a copy.
Is there a limit on how many apps I can create?
Is there a limit on how many apps I can create?
No. Playlab doesn’t limit how many apps you create. You do need permission to build, either from your organization role (Owner, Builder, or Editor) or from a space that lets members build apps.
Can I import an app from another platform?
Can I import an app from another platform?
Not directly. You can copy your prompt and references into a new Playlab app. We don’t offer a one-click importer.
How do I save my work-in-progress?
How do I save my work-in-progress?
Playlab saves automatically as you build. People using your published app keep getting the published version until you publish again.
Last updated: 10-02-2026 Contact us at [email protected]